Embarking on the journey of car repair tips can be both empowering and economical. Taking charge of your vehicle’s upkeep saves you money and enhances your understanding of the machine you rely on daily. This blog post explains the car maintenance process for beginners and seasoned DIYers alike. Here, you’ll learn how to handle basic repairs, perform regular upkeep, and even tackle some advanced projects. We’ll cover everything from the essential tools needed to detailed step-by-step repair guides, ensuring you gain the confidence to manage your car’s health.

Essential Tools and Equipment
Core Toolkit
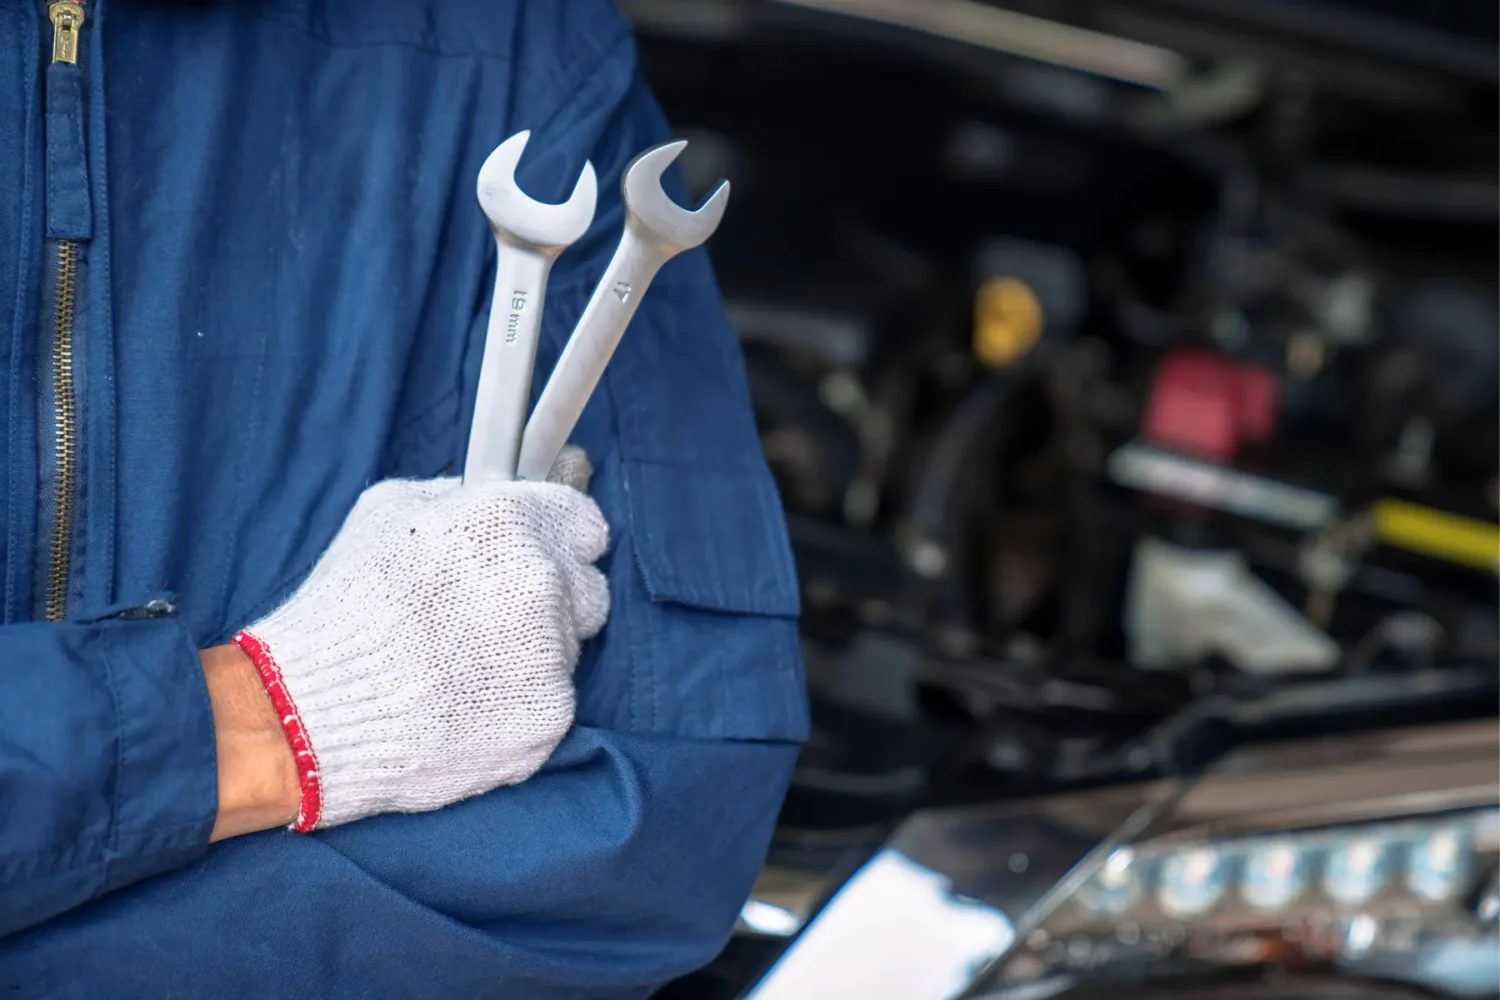
To effectively handle DIY car repair, your toolkit should include a variety of wrenches—both adjustable and socket types—as well as a collection of screwdrivers, including both flathead and Phillips heads. Pliers, a hammer, and a torque wrench are also indispensable for ensuring that all components are fitted securely and to exact specifications. These tools allow you to undertake everything from tightening bolts to disassembling parts without damaging them. Investing in high-quality tools can prevent the common pitfalls of do-it-yourself car repairs, such as stripped screws or broken bolts.
Quality Jacks and Stands
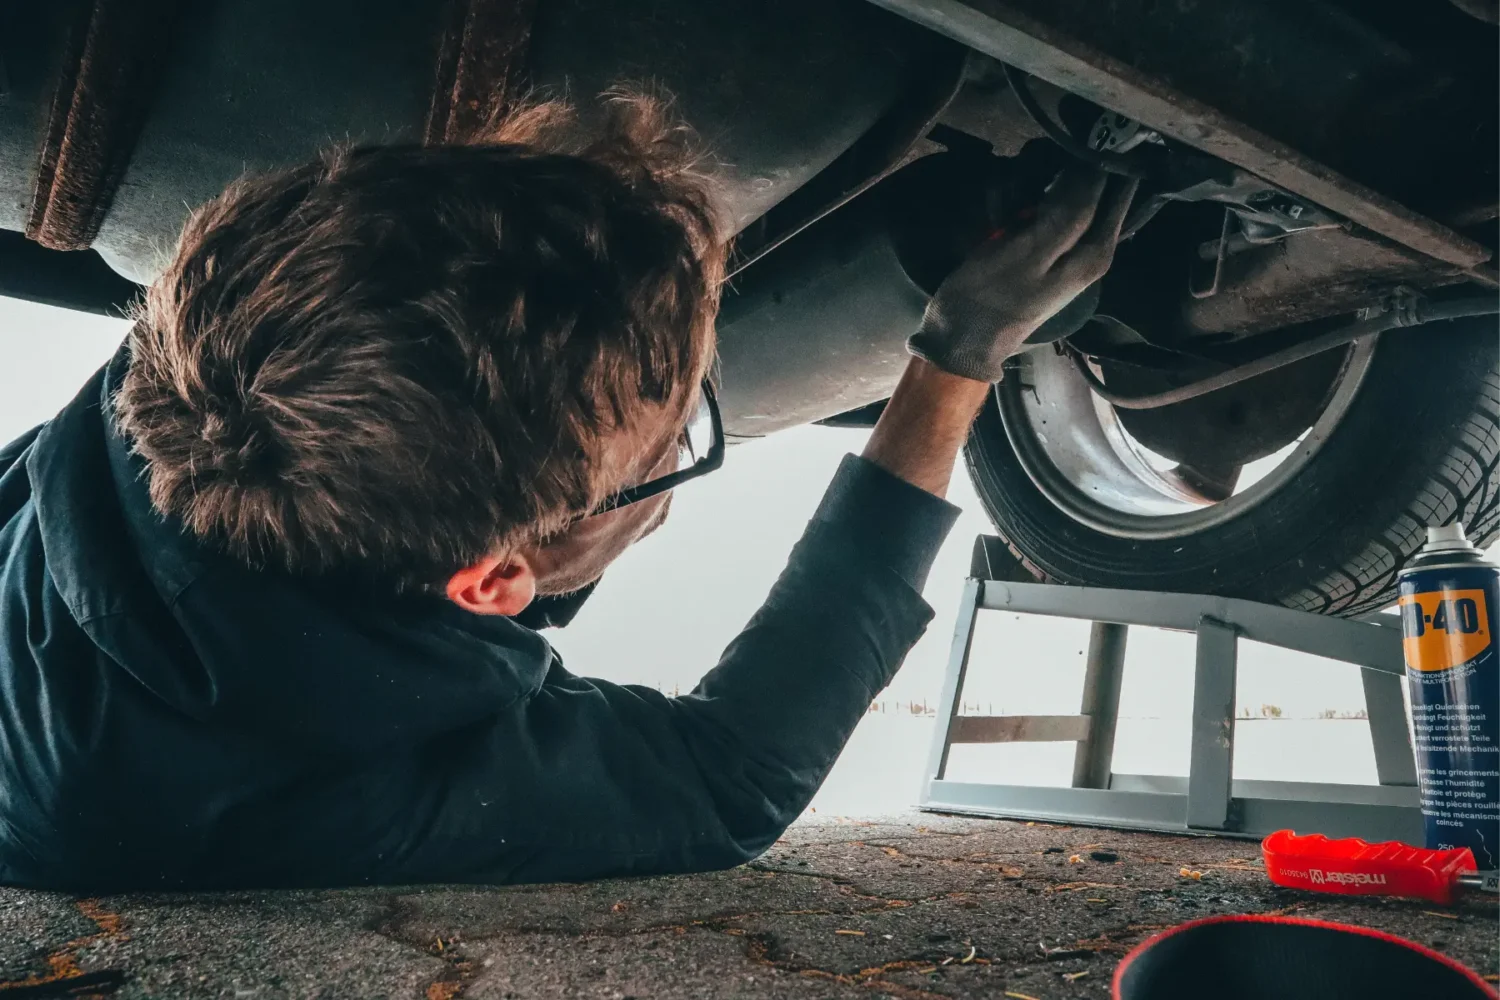
One of the foundational aspects of safe DIY auto maintenance is the use of reliable jacks and stands. When you’re working under a car, ensuring it is securely lifted is paramount to your safety. Quality hydraulic jacks and sturdy stands designed for the weight of your vehicle can prevent accidents and provide stability while you work. This is particularly important during tasks like oil changes or tire rotations, where you need dependable support to prevent the car from slipping or falling.
Organizing Your Workspace
Start by designating areas for different types of work and storing related tools for car maintenance together. This not only speeds up the process by having everything at hand but also reduces the risk of injuries caused by misplaced equipment. Consider installing a pegboard for hanging tools and shelves for parts and supplies. Adequate lighting and ventilation are also critical to maintain a safe working environment. A clean and well-organized workspace not only makes car repair for beginners easier but also more enjoyable.
Specialty Tools
For those looking to expand their DIY automotive repair capabilities, investing in some specialty tools can be a game-changer. Items like an OBD-II scanner for diagnostic work, a multimeter for electrical testing, and a torque wrench for precise bolt tightening can elevate your repair skills. Additionally, consider a creeper for comfortable under-car access and a powerful work light to illuminate dark corners.
Basic Maintenance Procedures
Step-by-Step Guide to Oil Changes
Changing your car’s oil is one of the most crucial aspects of DIY auto maintenance. Regular oil changes keep your engine running smoothly and extend its lifespan. Here is a step-by-step process of changing your car’s oil into manageable tasks:
- Prepare Your Vehicle: Begin by parking your car on a level surface to ensure safety and prevent oil from pooling unevenly inside the engine. Make sure to engage the parking brake for additional security. Before starting the oil change, it’s crucial to allow the engine to cool down. This safety step prevents burns from hot engine parts and oil. Cooling also helps the oil settle, providing a more accurate reading of oil levels before you begin draining.
- Gather Necessary Tools and Materials: For a successful oil change, you will need several items: a suitable quantity of fresh oil, a new oil filter, an oil catch pan to collect the old oil, a wrench to open the drain plug, and a funnel to add new oil without spilling. Make sure the oil and oil filters are the correct types for your vehicle’s make and model, which you can confirm by consulting your car’s manual or an online resource.
- Drain the Old Oil: Position the oil catch pan under your car’s oil pan and use the wrench to carefully remove the drain plug. Allow the old oil to drain completely into the pan. This might take a few minutes as the oil needs to trickle out completely to ensure that most of the old oil is removed from the engine.
- Replace the Oil Filter: After draining the oil, move on to replacing the oil filter. Use an oil filter wrench to remove the old filter. Take the new filter and apply a small amount of fresh oil to the rubber seal—this helps ensure a good seal and makes future removal easier. Carefully screw on the new filter by hand.
- Add New Oil: Once the new filter is in place and the drain plug is securely fastened, begin adding fresh oil. Use the funnel to pour oil into the engine via the fill hole, which helps avoid spills. Fill the engine with the amount of oil recommended by your vehicle’s manufacturer.
- Check Oil Level: After adding the new oil, start your car’s engine and let it run for a few minutes. This circulates the oil and allows for a more accurate oil level reading. Turn off the engine and use the dipstick to check the oil level. If the oil doesn’t reach the “full” mark on the dipstick, you may need to add more oil.
Scheduled oil changes keep your engine in optimal condition, helping to avoid costly repairs down the road. Always dispose of the old oil responsibly by taking it to a recycling center or an auto shop that accepts used oil. This eco-friendly practice helps protect the environment while keeping your car running smoothly.
Replacing Air Filters
Frequent air filter replacement is a crucial but frequently disregarded part of basic car care. A clean air filter ensures that your engine receives plenty of clean air, which is crucial for efficient combustion and overall performance. To replace the air filter, locate the air filter box, typically found near the top of the engine. Unclip the cover, remove the old filter, and insert a new one ensuring it fits snugly.
The Right Way to Rotate Tires
Tire rotation is vital for achieving even tire wear and extending the life of your tires. The process involves changing the positions of your vehicle’s tires in a pattern that promotes even wear. Typically, the front tires move to the rear, and the rear tires move to the front, sometimes crossing sides depending on your vehicle’s drive type.
Intermediate DIY Repairs
How to Replace Brake Pads Safely
Begin by securing your car with jacks and stands. Remove the wheel to access the brake caliper, and then the brake pads. Inspect the rotors for wear; they may need to be replaced or resurfaced. Install the new pads along with any accompanying hardware, such as clips and shims. Reassemble the caliper and wheel, then test your brakes gently in a safe area to ensure they are functioning correctly.

Changing Spark Plugs
Locate the spark plugs first; these are located at the top of the engine of your car. Using a spark plug socket, remove each plug one at a time, being careful not to strip the thread. Check the gap on new spark plugs using a gapping tool to match your vehicle’s specifications. Install the new plugs, tightening them just enough to be secure without over-tightening. This vehicle maintenance DIY task ensures optimal fuel consumption and engine performance.
Battery Maintenance and Replacement
Maintaining the performance and longevity of your vehicle often rests on the proper management of its battery. Here’s a comprehensive guide to managing your car’s battery:
- Regularly Check the Battery Condition: It is vital to inspect your vehicle’s battery regularly for any signs of wear or deterioration, particularly around the terminals. Corrosion at the terminals can hinder the battery’s ability to deliver power efficiently. To clean any build-up, use a solution of baking soda and water, scrubbing gently to remove corrosion without damaging the terminals. After cleaning, applying an anti-corrosive gel can help prevent future corrosion. This proactive maintenance not only extends the battery’s life but also enhances overall vehicle reliability.
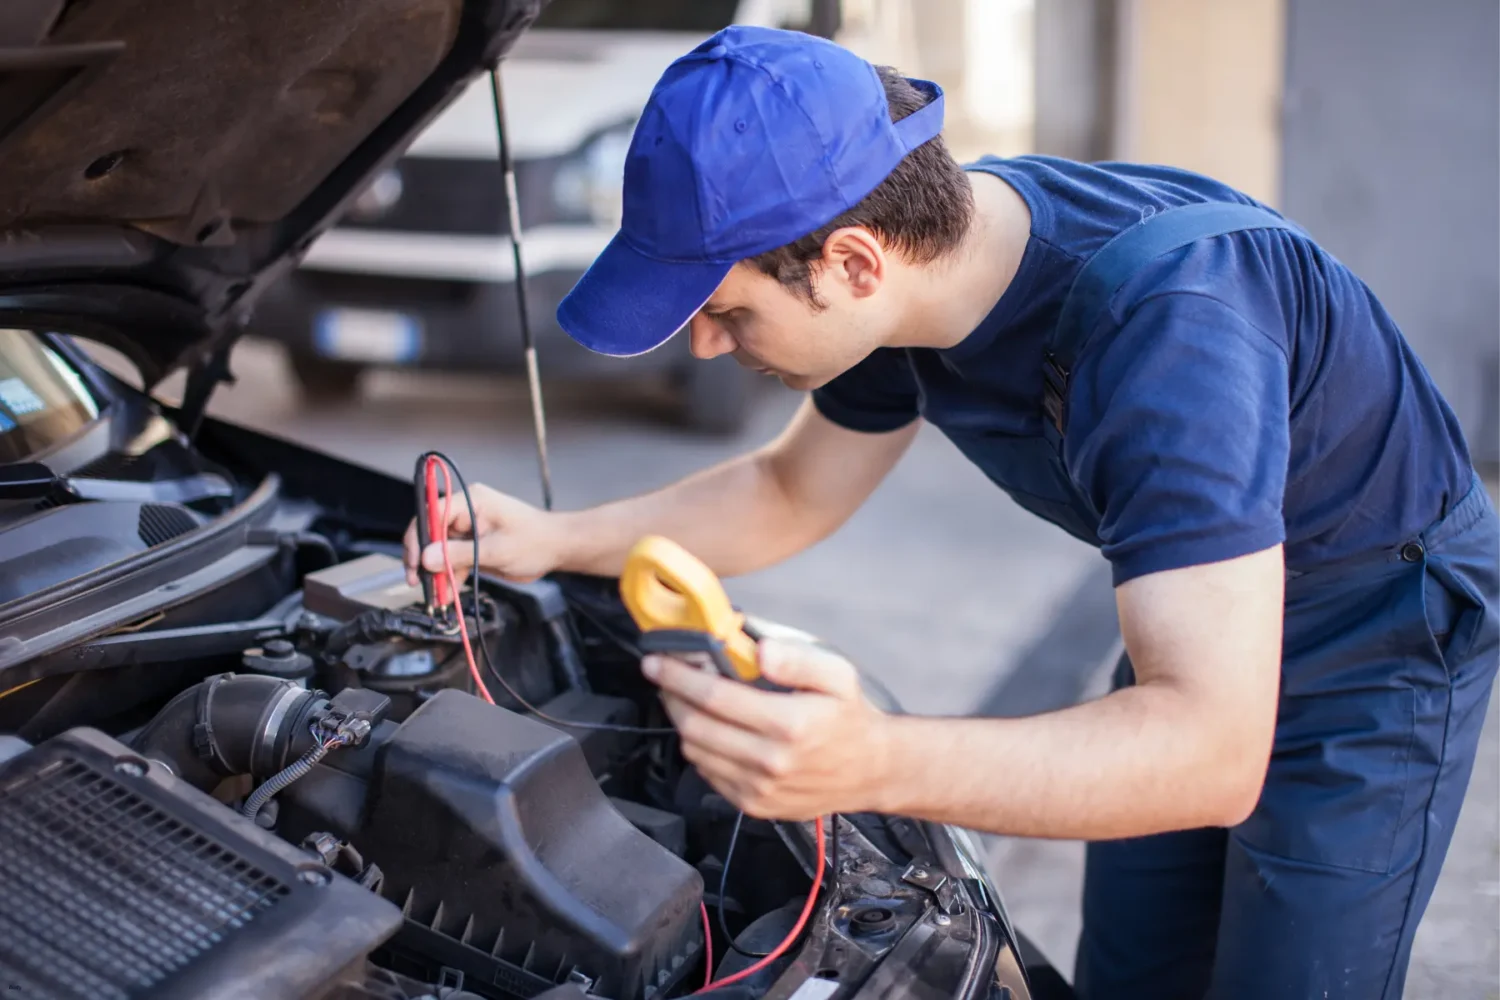
- Test the Battery Voltage: The health of your car battery can be effectively measured by testing its voltage using a multimeter, a handy tool for any car owner. Ensure the engine is off when you check the voltage; a healthy battery typically shows about 12.6 volts. If the reading is significantly lower, this may be an indication that the battery is losing its ability to hold a charge and could soon fail. Voltage checks can preempt issues, allowing for timely interventions before more serious problems arise.
- Ensure Tight Connections: Ensuring that the battery terminals are tightly secured is essential for maintaining a steady power supply to your vehicle’s systems. Loose connections can cause intermittent power losses, which may manifest as difficulties in starting the vehicle or sudden stalling.
- Keep the Battery Securely Mounted: The battery should always be securely fastened in its designated bracket. A loose battery can experience excessive vibrations, especially when the vehicle is in motion, which can damage the battery’s internal components and shorten its overall lifespan. Checking the mounting bracket for firmness during routine inspections can save you from potential troubles caused by vibration-related damage.
- Replace When Necessary: Recognizing when to replace your car’s battery is crucial. Indicators of a battery nearing the end of its usable life include a slow engine crank and dimming headlights. When these signs become apparent, consult your vehicle’s manual for the recommended battery type and replacement procedures. The secret to preserving the dependable and smooth running of your car is to make sure the new battery you install fits its specifications.
By adhering to these steps, you can significantly extend the lifespan and enhance the performance of your vehicle’s battery. Regular car maintenance essentials, combined with timely replacements, ensure that your car remains reliable and efficient in its operation.
Replacing Wiper Blades and Lights
For wiper blades, lift the arm away from the windshield, press the tab to release the old blade, and attach the new one. For lights, access the back of the light unit, remove the old bulb, and replace it with a new one, being careful not to touch halogen bulbs with your fingers. These replacements are necessary for maintaining good visibility and safe driving conditions.
Advanced DIY Challenges
Undertaking Suspension Work
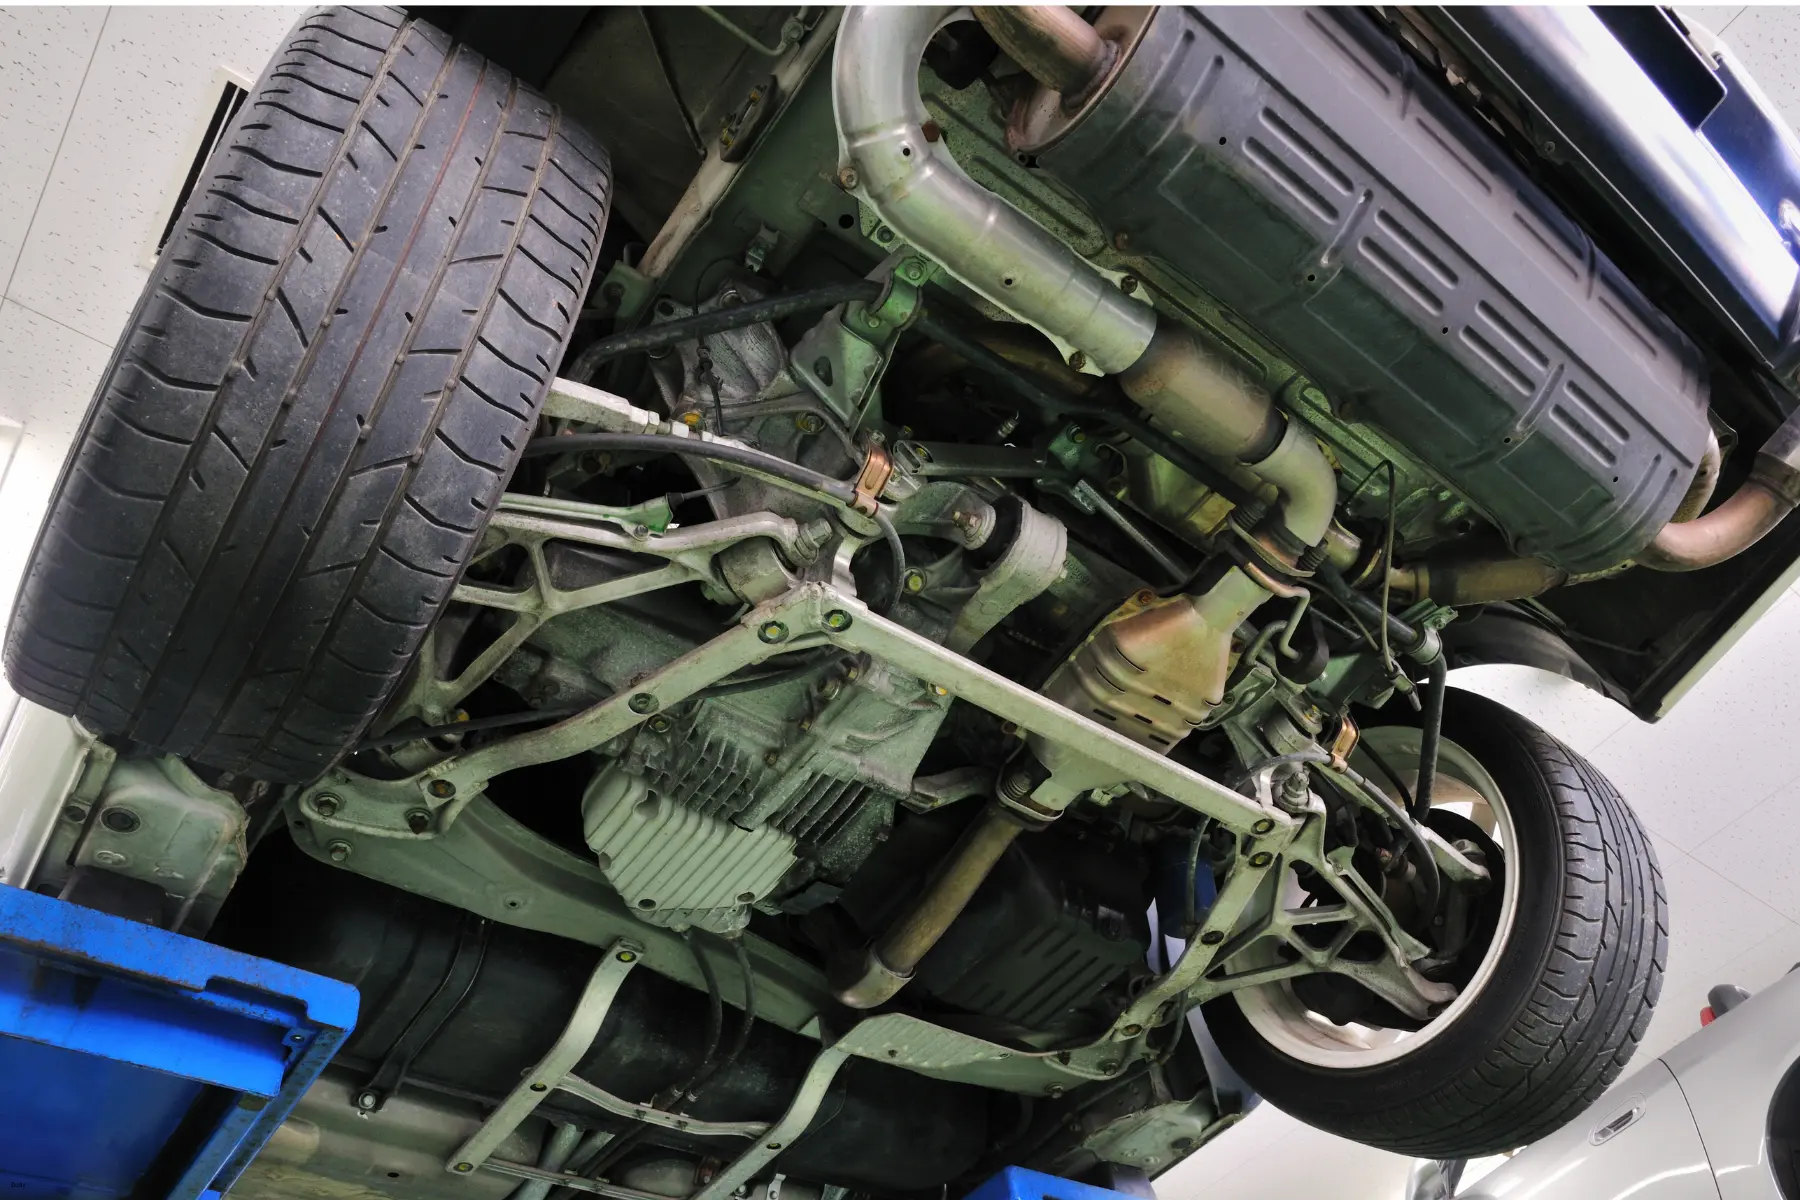
Working on your vehicle’s suspension system can be a complex but rewarding challenge. This task involves inspecting and possibly replacing shock absorbers, struts, and springs that contribute to vehicle stability and passenger comfort. Start by examining these components for signs of wear or damage, such as leaks or rust. Using the correct tools, remove the old components and replace them with new ones, ensuring all fittings are tightened to the manufacturer’s specifications. Suspension repair can significantly improve your car’s handling, especially if it has been experiencing rough rides or unusual noises during driving.
Handling Minor Body Repairs
Minor body repairs, such as fixing dents or scratches, can greatly enhance the appearance and resale value of your vehicle. Using a plunger or a specialized dent removal tool can be effective. For scratches, sand the area lightly, apply a matching paint, and finish with a clear coat to protect the new paint. Such repairs require patience and precision but can be done successfully with careful attention to detail.
When to Consider Professional Help
Certain car issues decidedly fall outside the ambit of typical home garage repairs, primarily due to their complexity and the specialized tools they require. For example, modern cars often feature integrated computer systems and complex circuitry that control everything from the engine’s timing to the air conditioning. These advanced electrical systems can perplex even seasoned DIYers, as diagnosing issues often requires specific diagnostic software and a deep understanding of automotive electronics. Similarly, engine and transmission repairs are intricate processes involving precise alignments and adjustments that, if done improperly, could lead to significant mechanical failures. The expertise and equipment available in a professional auto shop are indispensable for these tasks, highlighting the gap in capability between average home setups and specialized automotive facilities. If you encounter a problem that seems beyond your ability, or if simple car fixes could void your vehicle’s warranty, it’s wise to seek professional assistance.

DIY auto repair not only helps you learn about and appreciate your car, but it also builds self-reliance and a sense of accomplishment. As you gain proficiency in basic maintenance and tackle more complex repairs, you’ll find that many aspects of car care are within your reach, reducing the need for costly professional services. Remember, the key to successful DIY car maintenance lies in preparation, proper tools, and patience. Invest in quality equipment, maintain a clean and organized workspace, and don’t hesitate to expand your skills with specialty tools and advanced projects. However, always be aware of your limits and recognize when it’s safer and more prudent to call in a professional. By balancing these elements, you can ensure your vehicle remains reliable, efficient, and well-maintained, saving you money and providing satisfaction in your ability to care for it yourself.


