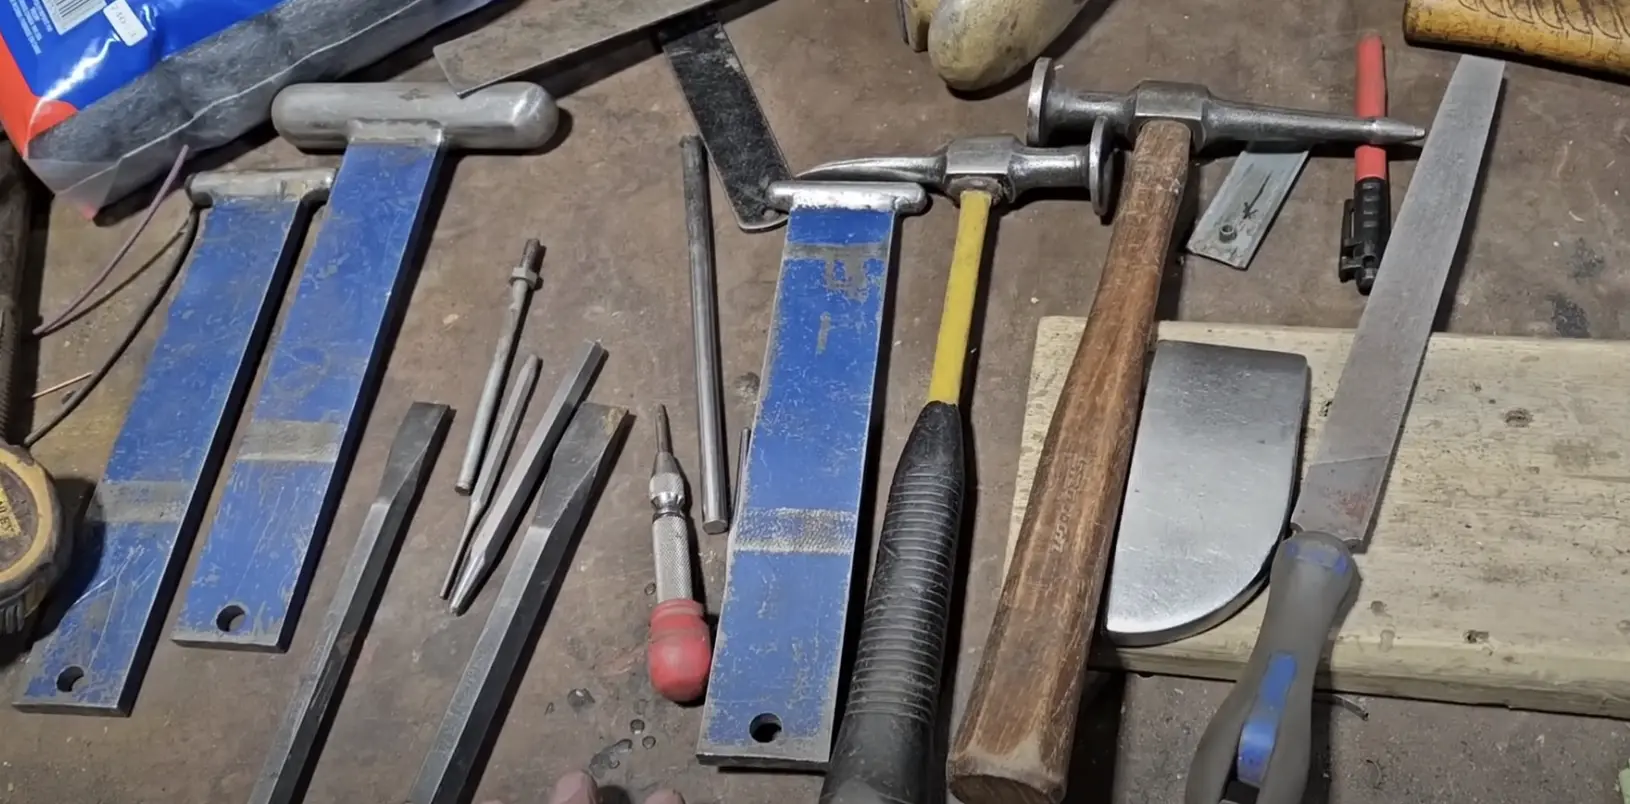
Repairing dented stainless trim on your vehicle can seem daunting, but with the right tools and techniques, you can restore it to near-original condition. Here’s a step-by-step guide to help you tackle this task, based on a practical session with a piece of trim that suffered significant damage due to a mishap.
Step 1: Assess the Damage
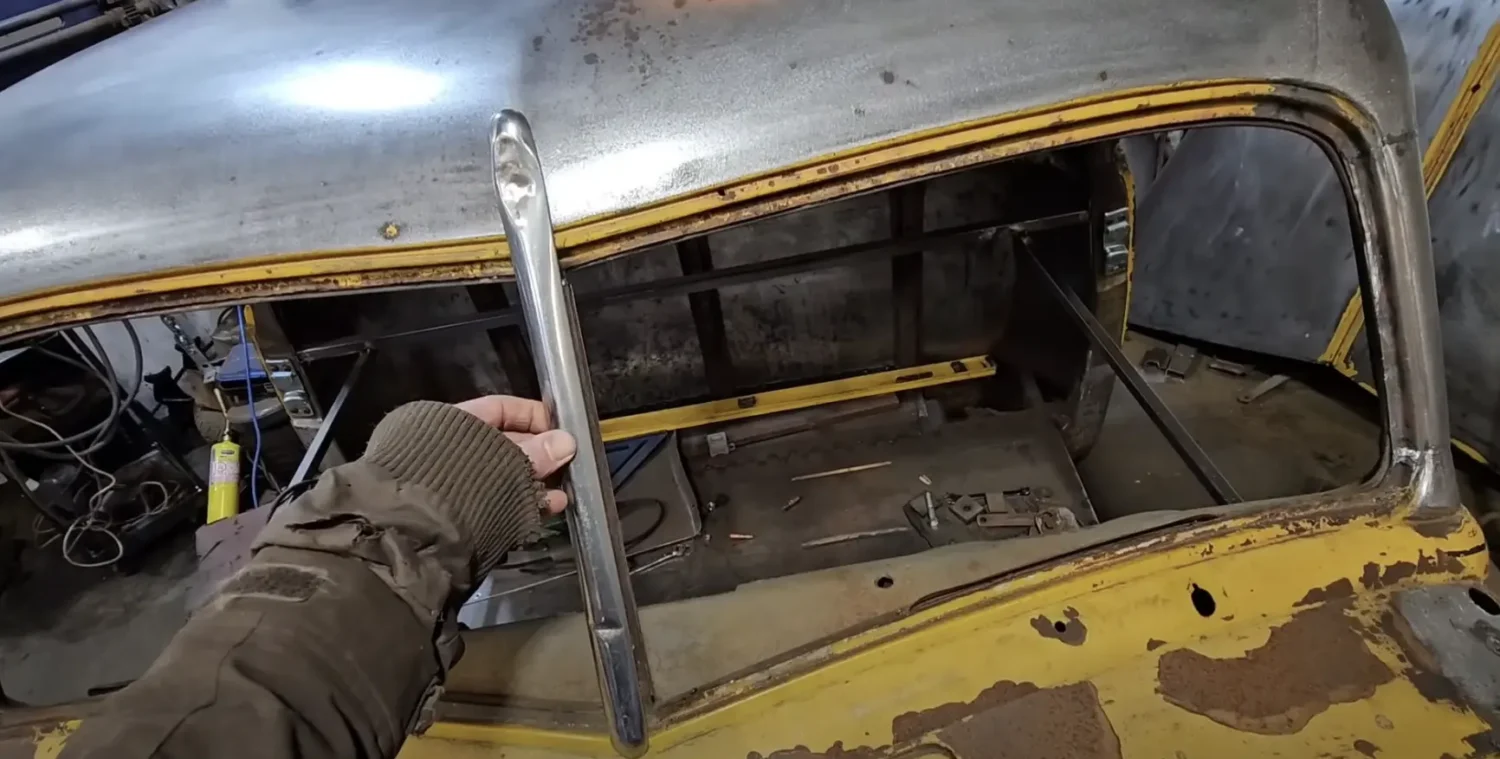
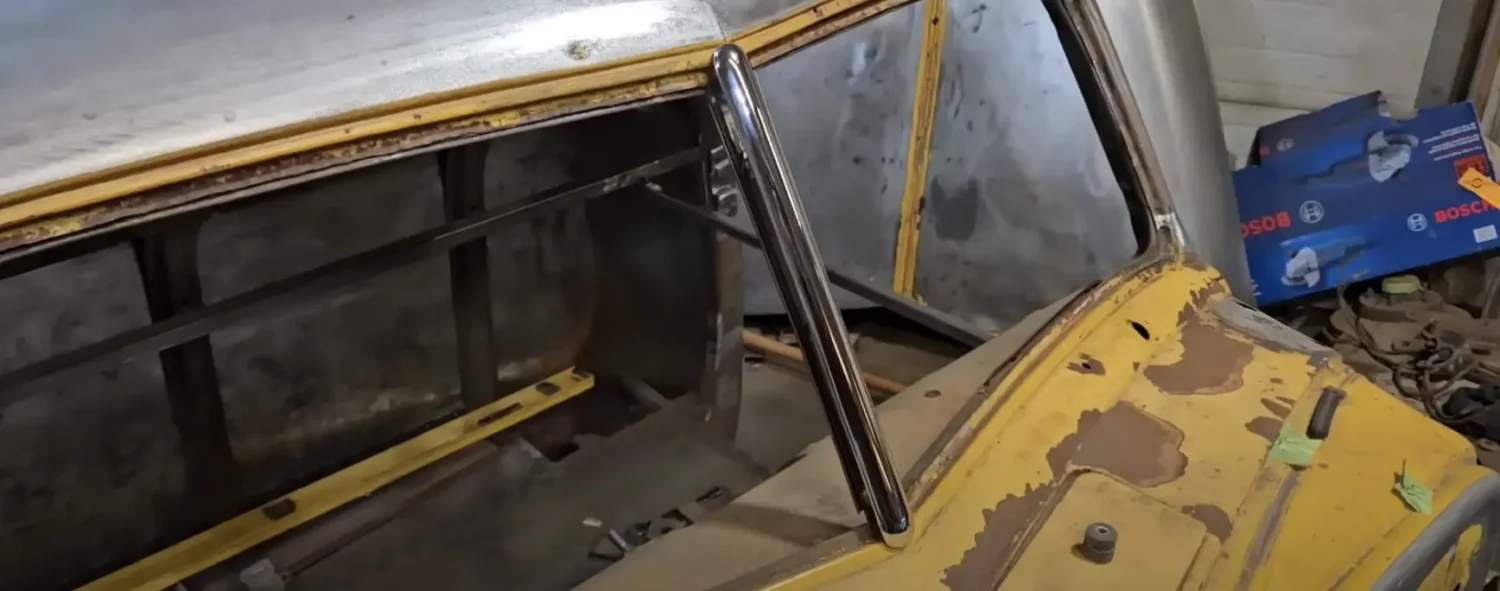
Begin by examining the extent of the damage to your trim. If it’s severely mangled or has complex curves, consider the options of replacing it with an OEM part, finding a salvage piece, or using a reproduction, if available. In the repair featured by Carter Auto Restyling, a piece of trim was used from a vehicle that had its roof chopped, allowing some flexibility in the repair approach.
Step 2: Removing the Trim
If possible, remove the trim from the vehicle to make the repair easier. Use tools like door skin pliers, flat-bladed screwdrivers, and channel locks to carefully detach the trim. For trims with inner structures, peel back only as much as necessary to remove the piece without further damaging the trim or the car.

Step 3: Straightening the Trim
For dents, use a combination of pushing and tapping methods. Begin by gently pushing out the dent from behind using appropriate tools. Avoid using excessive force initially; a more calculated approach will prevent the stainless steel from stretching and warping. Tools like a small hammer, a chisel, or even a simple socket can be used to gently roll out the dents and return the trim to a more natural shape.

Step 4: Refining the Shape
Once the major deformations are addressed, focus on refining the shape. You can use a fine file to smooth out any minor imperfections. Be cautious with filing, as it can remove more material than intended, complicating the polishing process later.
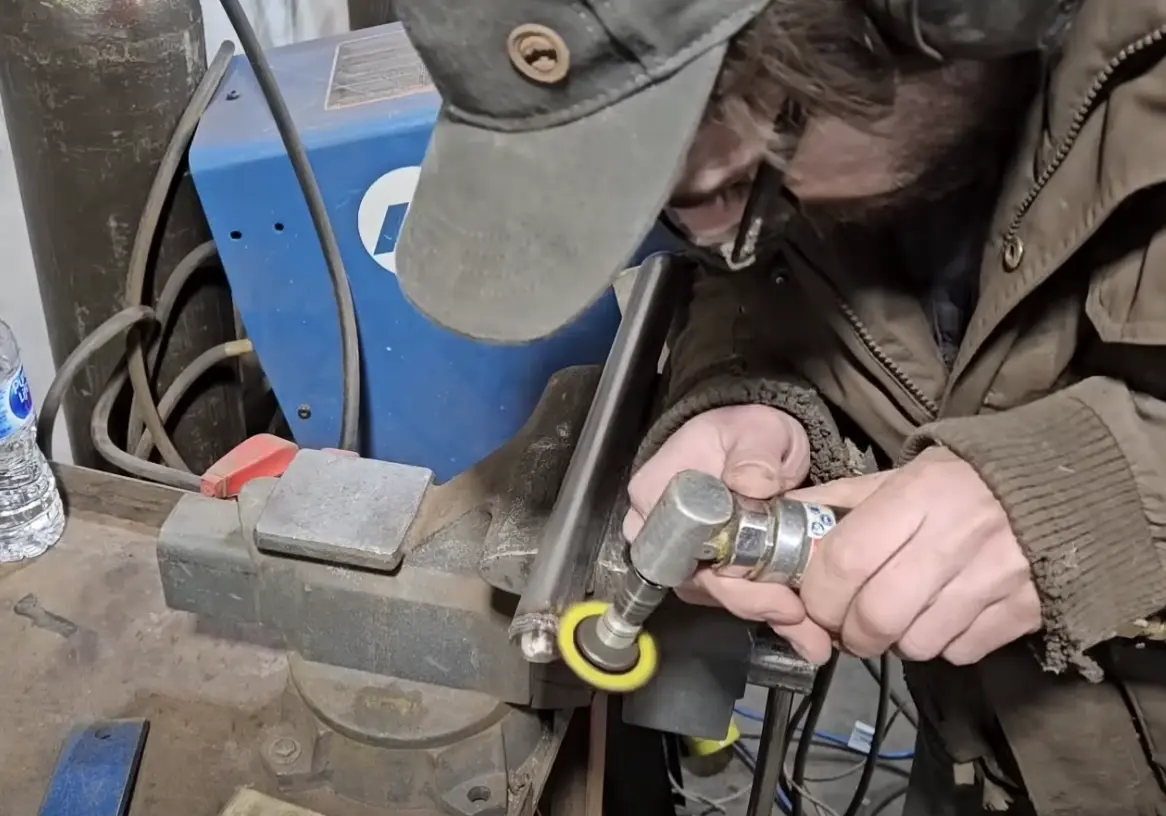
Step 5: Sanding
After reshaping, sand the trim starting with coarse grits and moving to finer grits. Sanding helps remove any minor scratches and prepares the surface for polishing. Use a hard block for sanding to ensure even pressure and avoid creating dips in the metal.
Step 6: Reattaching and Finishing Touches
If parts of the trim were removed or cut out, consider welding or using strong adhesives like JB Weld to reattach them. Ensure the alignment is correct and that there are no sharp edges that could cause injuries or further damage.
Step 7: Polishing
The final step is polishing the trim. Start with a rough polish and refine using higher grits until you achieve the desired luster. Polishing not only improves the appearance but also provides a protective layer against the elements.
Tips for Success
- Patience is Key: Take your time with each step, especially during straightening and sanding, to ensure the best outcome.
- Protective Measures: Always wear gloves and safety glasses to protect yourself from sharp edges and metal filings.
- Proper Tools: Use the right tools for each step. Improvising with inappropriate tools can cause more damage.
- Continuous Assessment: Regularly assess your progress. This allows you to correct any issues before moving to the next step.
Repairing stainless trim can be a rewarding project that restores the aesthetic appeal of your vehicle without the need for costly replacements. With practice and attention to detail, you can achieve professional results in your garage.
